
A guide on finally understanding the exposure triangle, minus the headaches
You’ve probably heard about the exposure triangle before—and maybe you’ve even tried to wrap your head around it, only to end up Googling “what’s the easiest camera setting so I don’t cry.” Lol, I was you once. I feel you. I’m here
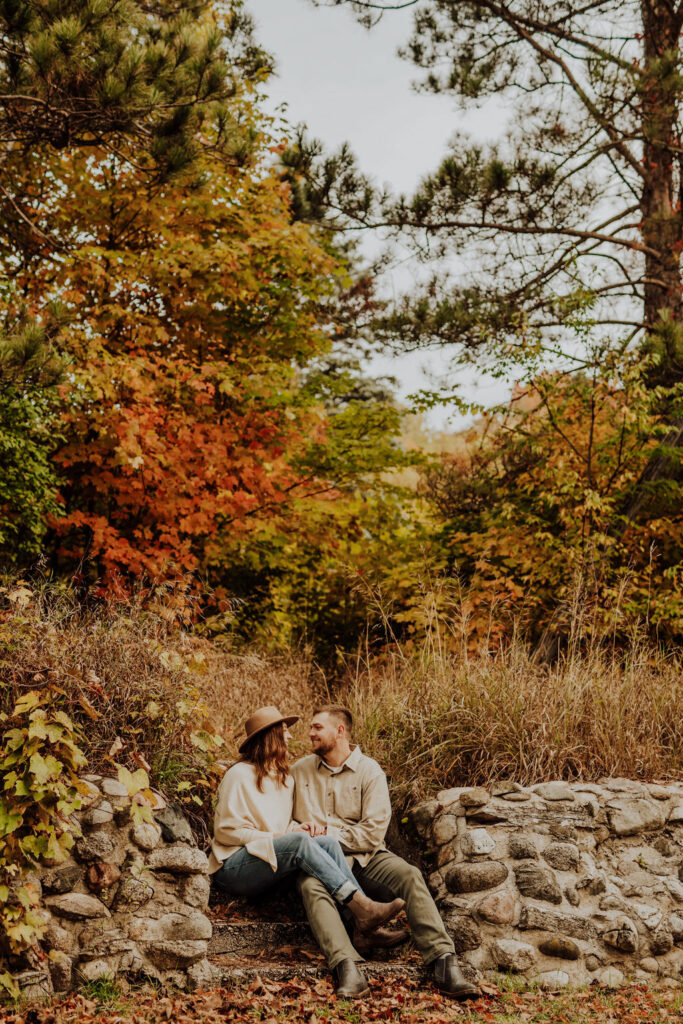
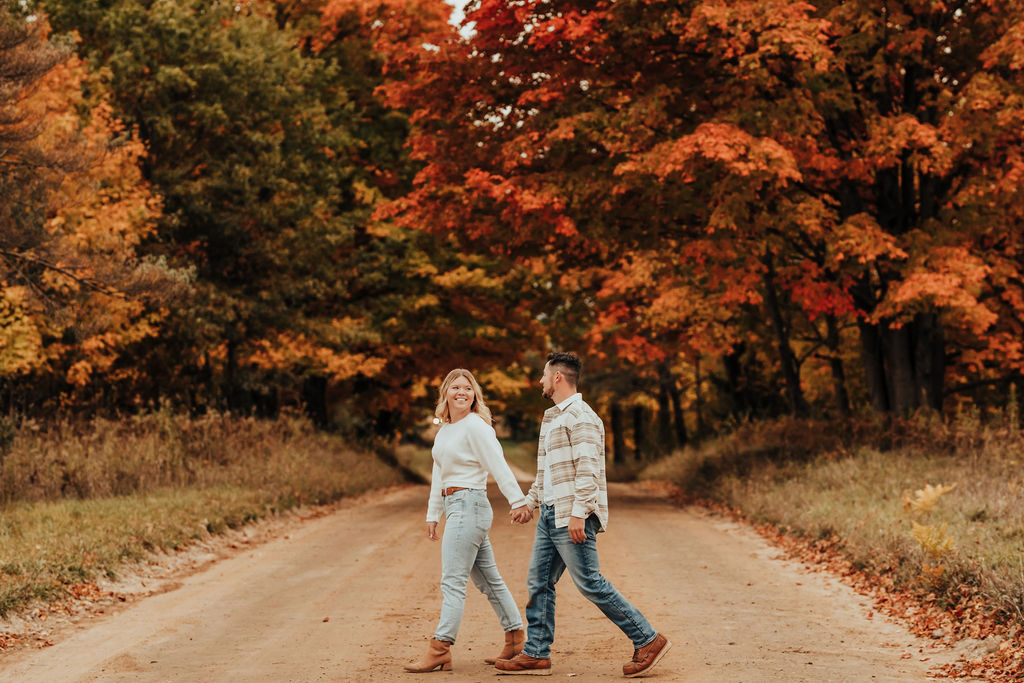
Sony A7RV, Sigma 85mm 1.4 (for sony emount)
ISO 400, F/2, SS 1/640 Kelvin 7800
(Cloudy fall day)
Simplifying the exposure triangle
The exposure triangle sounds super technical, but it doesn’t have to be scary. If you’ve ever thought:
- “Why are my photos blurry?”
- “Why is everything either too dark or weirdly bright?”
- “What even is ISO and why does it sound like a spaceship?”
- “Why can’t I just shoot in auto for the rest of eternity?”
- “How do these other photographers get pinterest perfect photos?”
…this post is for you.
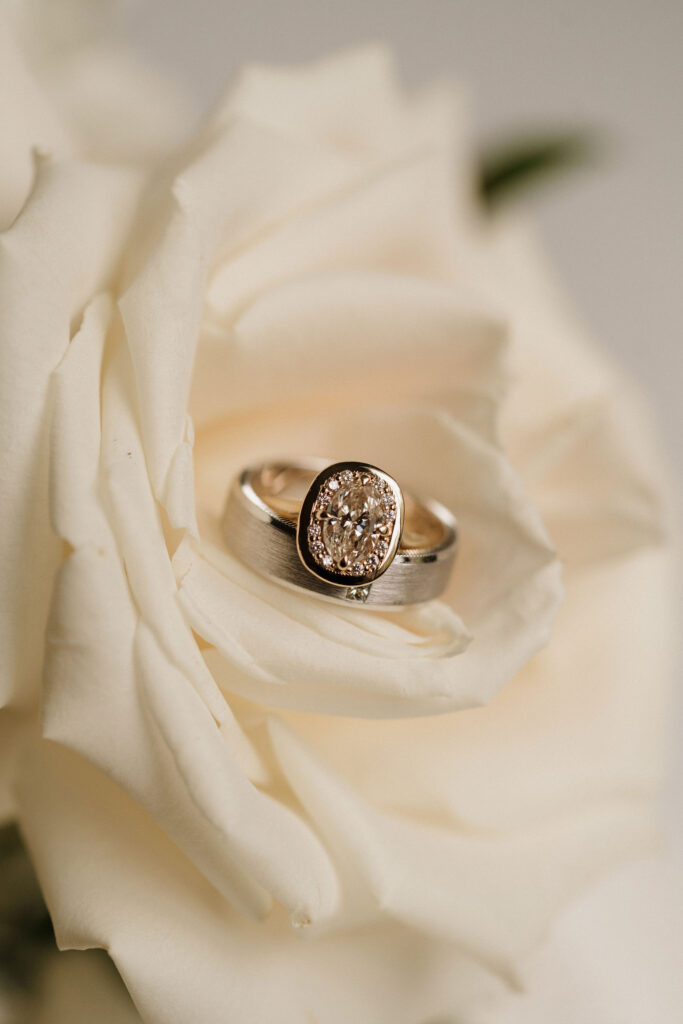
Sony A7IV, sony 90mm 2.8 macro lens, ISO 600, F/5.6, SS 1/200
(Inside, by a window)
So, what is the exposure triangle?
It’s just a fancy name for the 3 camera settings that control how light or dark your photo is.
That’s it. Just three things:
- Aperture (how wide the lens opens)
- Shutter Speed (how long the lens stays open)
- ISO (how sensitive your camera is to light)
🪣 Think of your camera like a bucket catching light.
- Aperture = how wide the faucet opens (bigger = faster fill, but shallower focus)
- Shutter speed = how long the faucet runs (longer = more water, but motion may blur)
- ISO = how absorbent the bucket is (higher ISO “soaks up” more light but might add grain)
When one setting changes, you’ve got to tweak the others to get the perfect fill — not too dark, not overflowing.
Need some visuals? Check out this youtube video on the exposure triangle simplified by studio VWV
Let’s break each one down—minus the tech speak.
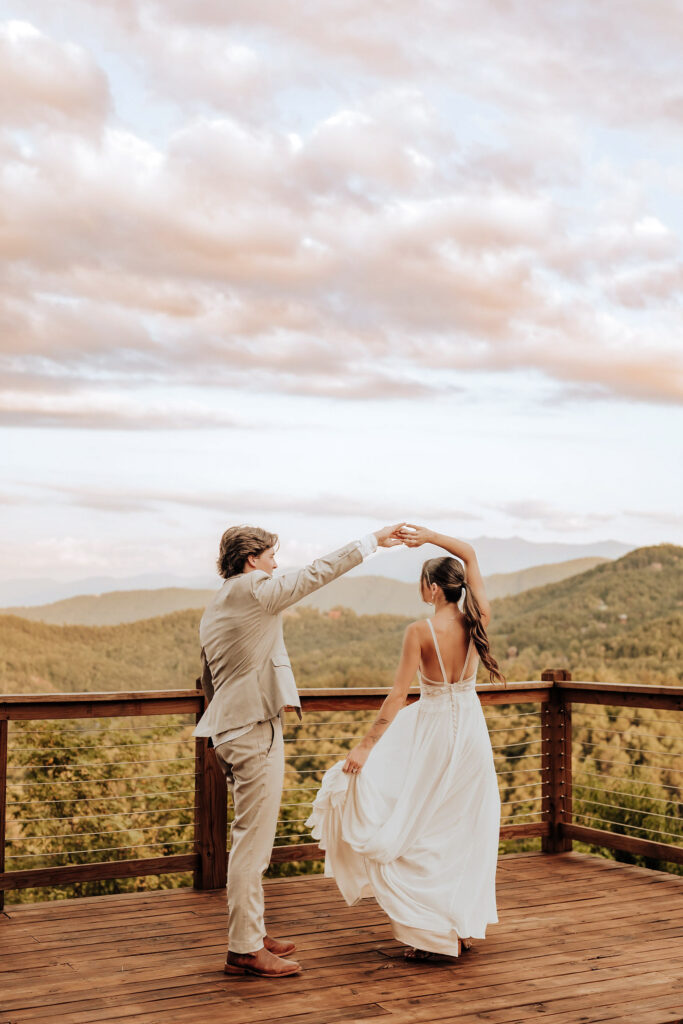
Sony A7RV, Sony 50mm 1.2,
ISO 800, F/1.4, SS 500
(Blue hour)
1. Aperture = how wide your camera’s eyeball opens
Think of it like the pupil of your eye.
When it’s dark, your pupils get bigger to let in more light. When it’s bright, they shrink.
Your camera works the same way.
- Smaller aperture # (like f/1.4) = more light, brighter photo, blurry background
- Bigger aperture # (like f/16) = less light, darker photo, everything in focus
Want that dreamy background blur in a portrait? You want a smaller number.
Want everything sharp, like in a landscape? You want a bigger number.
ISO 300, F/1.4, SS 640
(Golden hour-diffused light on faces)
2. Shutter Speed = how fast your camera blinks
The shutter is like your camera’s eyelid. When you press the button, it opens and closes.
A fast blink freezes motion. A slow blink lets in more light but might blur movement.
- Bigger shutter speed # (like 1/1000) = fast, freezes action, makes the photo darker
- Smaller shutter speed # (like 1/30) = slow, motion blur, makes the photo brighter
In other words, if you’re capturing fast subject – you need a large shutter speed number. That will also make for a darker photo. If you are in a setting where you desperately need light, you will go for a smaller shutter speed number – but try and keep your subjects more still to avoid blur.
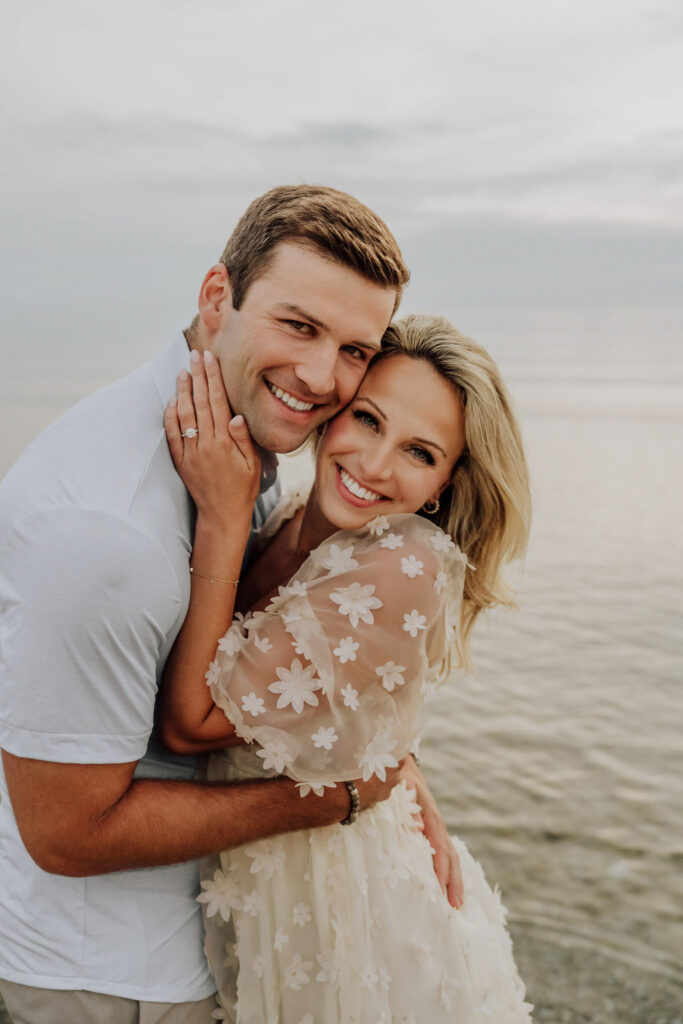
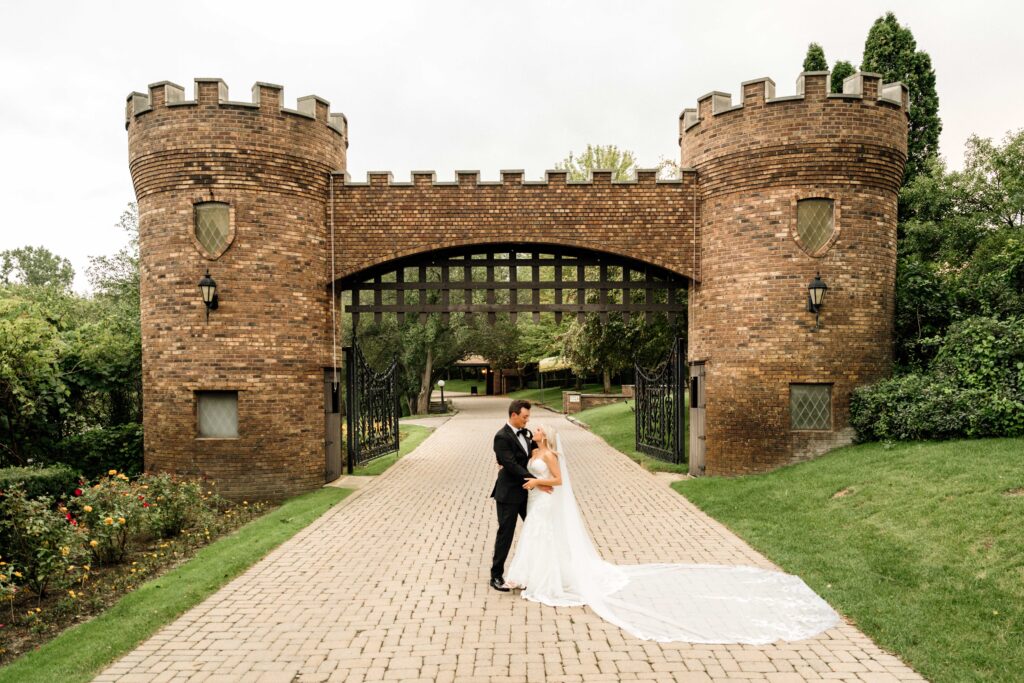
Sony A7IV, sigma 85mm
f/2, ISO 400, SS 1/800
(Cloudy, two hours before sunset)
3. ISO = your camera’s fake night vision
ISO tells your camera how sensitive to be to light.
- Smaller ISO # (100-400) = darker photos, clean/crisp images
- Bigger ISO # (1600-3200+) = brighter photos in the dark, but more noise/grain (which can affect quality a little bit)
It’s like turning up the brightness on your phone screen—it helps you see, but it can look a little rough if it’s cranked too high. Make sense?
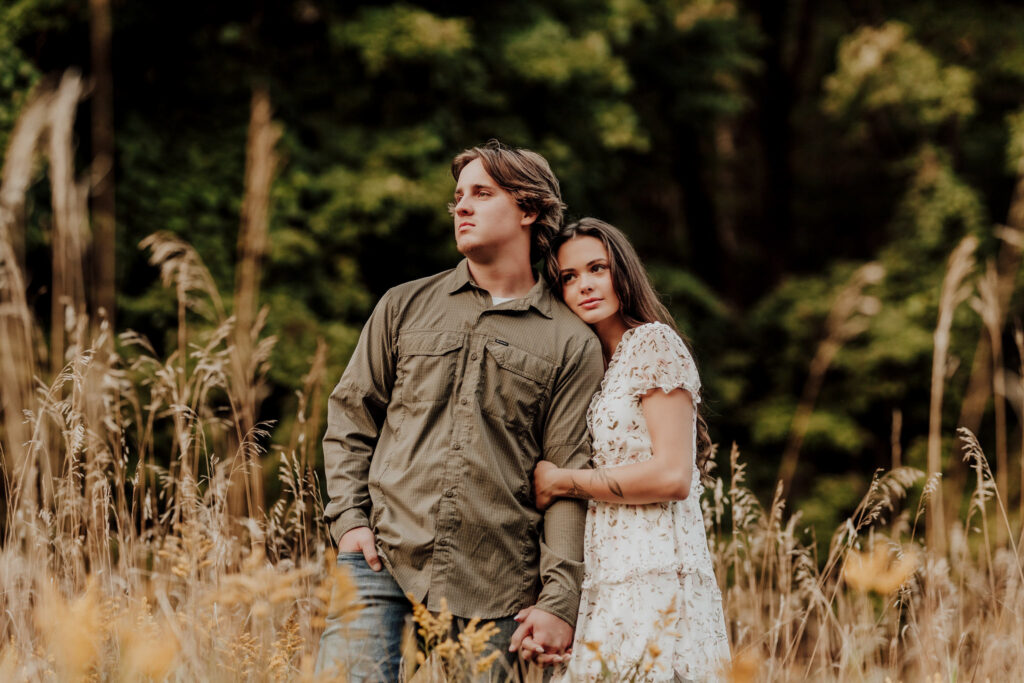
Sony A7IV, sigma 85mm 1.4,
ISO 300, F/2, SS/640
(golden hour)
So how do you actually use this triangle?
Start by deciding what matters most for the photo you’re taking:
- Capturing a session of 27 people? Prioritize aperture.
- Shooting fast movement? Start with shutter speed.
- Shooting in the dark? You might have to raise ISO, just a little.
Then adjust the other two to keep the photo from being too dark or too bright.
It’s all about balance—like a see-saw with three kids on it. You want to keep it steady.
Real life exposure triangle example
🧠 Let’s say you’re at f/2, 1/250s, ISO 100 — and it’s too bright.
➤ You can take your shutter speed to 1/800 (darkens photo)
➤ And or adjust aperture to f/2.8-f/4 (darkens the photo/ less background blur)
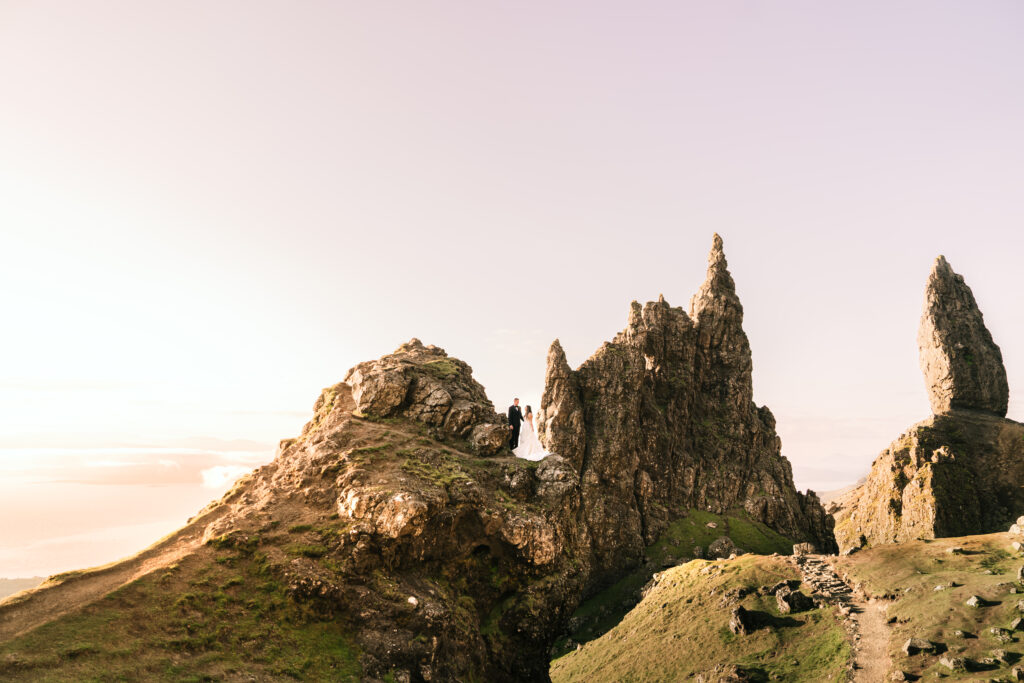
Sony A7RIII, Sony 35mm 1.4
ISO 600, F/1.4, SS 1/800
(Cloudy day, in the early evening with touch focus set to the couple)
Exposure triangle cheat sheet showing example settings and effects

✅ Want a quick-glance version to keep in your camera bag?
I got you. Download your own copy below!
Looking for a breakdown of each setting?
I’ve created a packet for that, as well! Feel free to reach out if you have any questions!
You’re not supposed to “just know” how the exposure triangle works.
Honestly? Most photography courses make this part way more complicated than it needs to be. They throw charts at you and expect you to memorize numbers. But what you really need is to see it in action and have someone walk you through it – like a real human.
That’s exactly what I’m teaching in my upcoming course for beginner photographers. I’m showing you how I shoot in real life (on my actual camera!), and you’ll see my photos, my settings, and how I think through it all—step by step.
If you’ve been wanting to feel actually confident using your camera instead of always sticking to auto, this course is for you.
Want in? Join the waitlist here!
I’ll send you the details as soon as it’s ready—and some fun freebies while you wait.
Sony A7RIII, Sony 24-70 GMII 2.8,
ISO 200, F/2.8, SS 1/800
(sunset)
Some final thoughts
The exposure triangle is just light math, and you don’t need to be a genius to get it.
You just need someone to explain it in simple terms—and help you practice until it clicks.
And I’ve got you.

©Cheleana Rowan, with Cheleanamarie Photography, 2015-2025. Unauthorized use and or duplication of this material without express and written consent from Cheleana Rowan is strictly prohibited. Excerpts and links may be used, provided that full clear credit is given to Cheleana Rowan with Cheleanamarie Photography with appropriate and specific direction to the original content.
share to
